

If you have a solid skin-care routine packed with toners, spot treatments, and oil-free moisturizers but still manage to end every day with a cystic pimple, it might be time to look for another culprit. Besides stress and hormones, one primary suspect could be your dirty makeup sponge. While the texture of those beloved, egg-shaped tools blends foundation, concealer, and even powder seamlessly, it can also easily hold a lot of gross bacteria.
“Makeup applicators collect everything off your skin — oil, dead skin cells, bacteria, and other debris — which is then transferred back to your skin (and your makeup products) if you don’t clean the applicators,” dermatologist Sejal Shah, MD, of SmarterSkin Dermatology, tells us. “This can potentially lead to acne, infections, or other skin issues. They can also become more dry and abrasive as makeup is caked on them, causing irritation and ineffective application.”
With a proper cleansing routine, you can help sidestep sponge-related breakouts. Keep reading to pick up a few essential tricks from the pros as well as product recommendations that will help keep your makeup sponge (and your pores) scum free.
At Refinery29, we’re here to help you navigate this overwhelming world of stuff. All of our market picks are independently selected and curated by the editorial team. If you buy something we link to on our site, Refinery29 may earn commission.

Don’t Wait To Clean
In an ideal world, you’d wash your sponge every single day — but experts understand that’s not always practical. Instead, they all agreed that you should clean it at least once a week, and more if you are a frequent user. (If you’re a makeup artist or using the sponge on others then you need to clean it after every use.)
Beautyblender Instaclean Sponge and Brush Cleansing Spray, $, available at Sephora

Soak Your Sponge
To start, dispense the cleansing formula directly onto your damp sponge and gently squeeze it repeatedly to work the soap into its core. Finish by rinsing the sponge until the water runs clear.

Avoid Harsh Soaps
It might sound like a no-brainer, but just to be clear: Dishwashing detergent is specifically for dishes, not your makeup sponge. Experts advise using a cleanser that is specifically created for cleaning makeup sponges and brushes. Other formulas can be too harsh and damage the texture of your applicator. And if the soap isn’t rinsed properly, it can cause irritation on your skin.
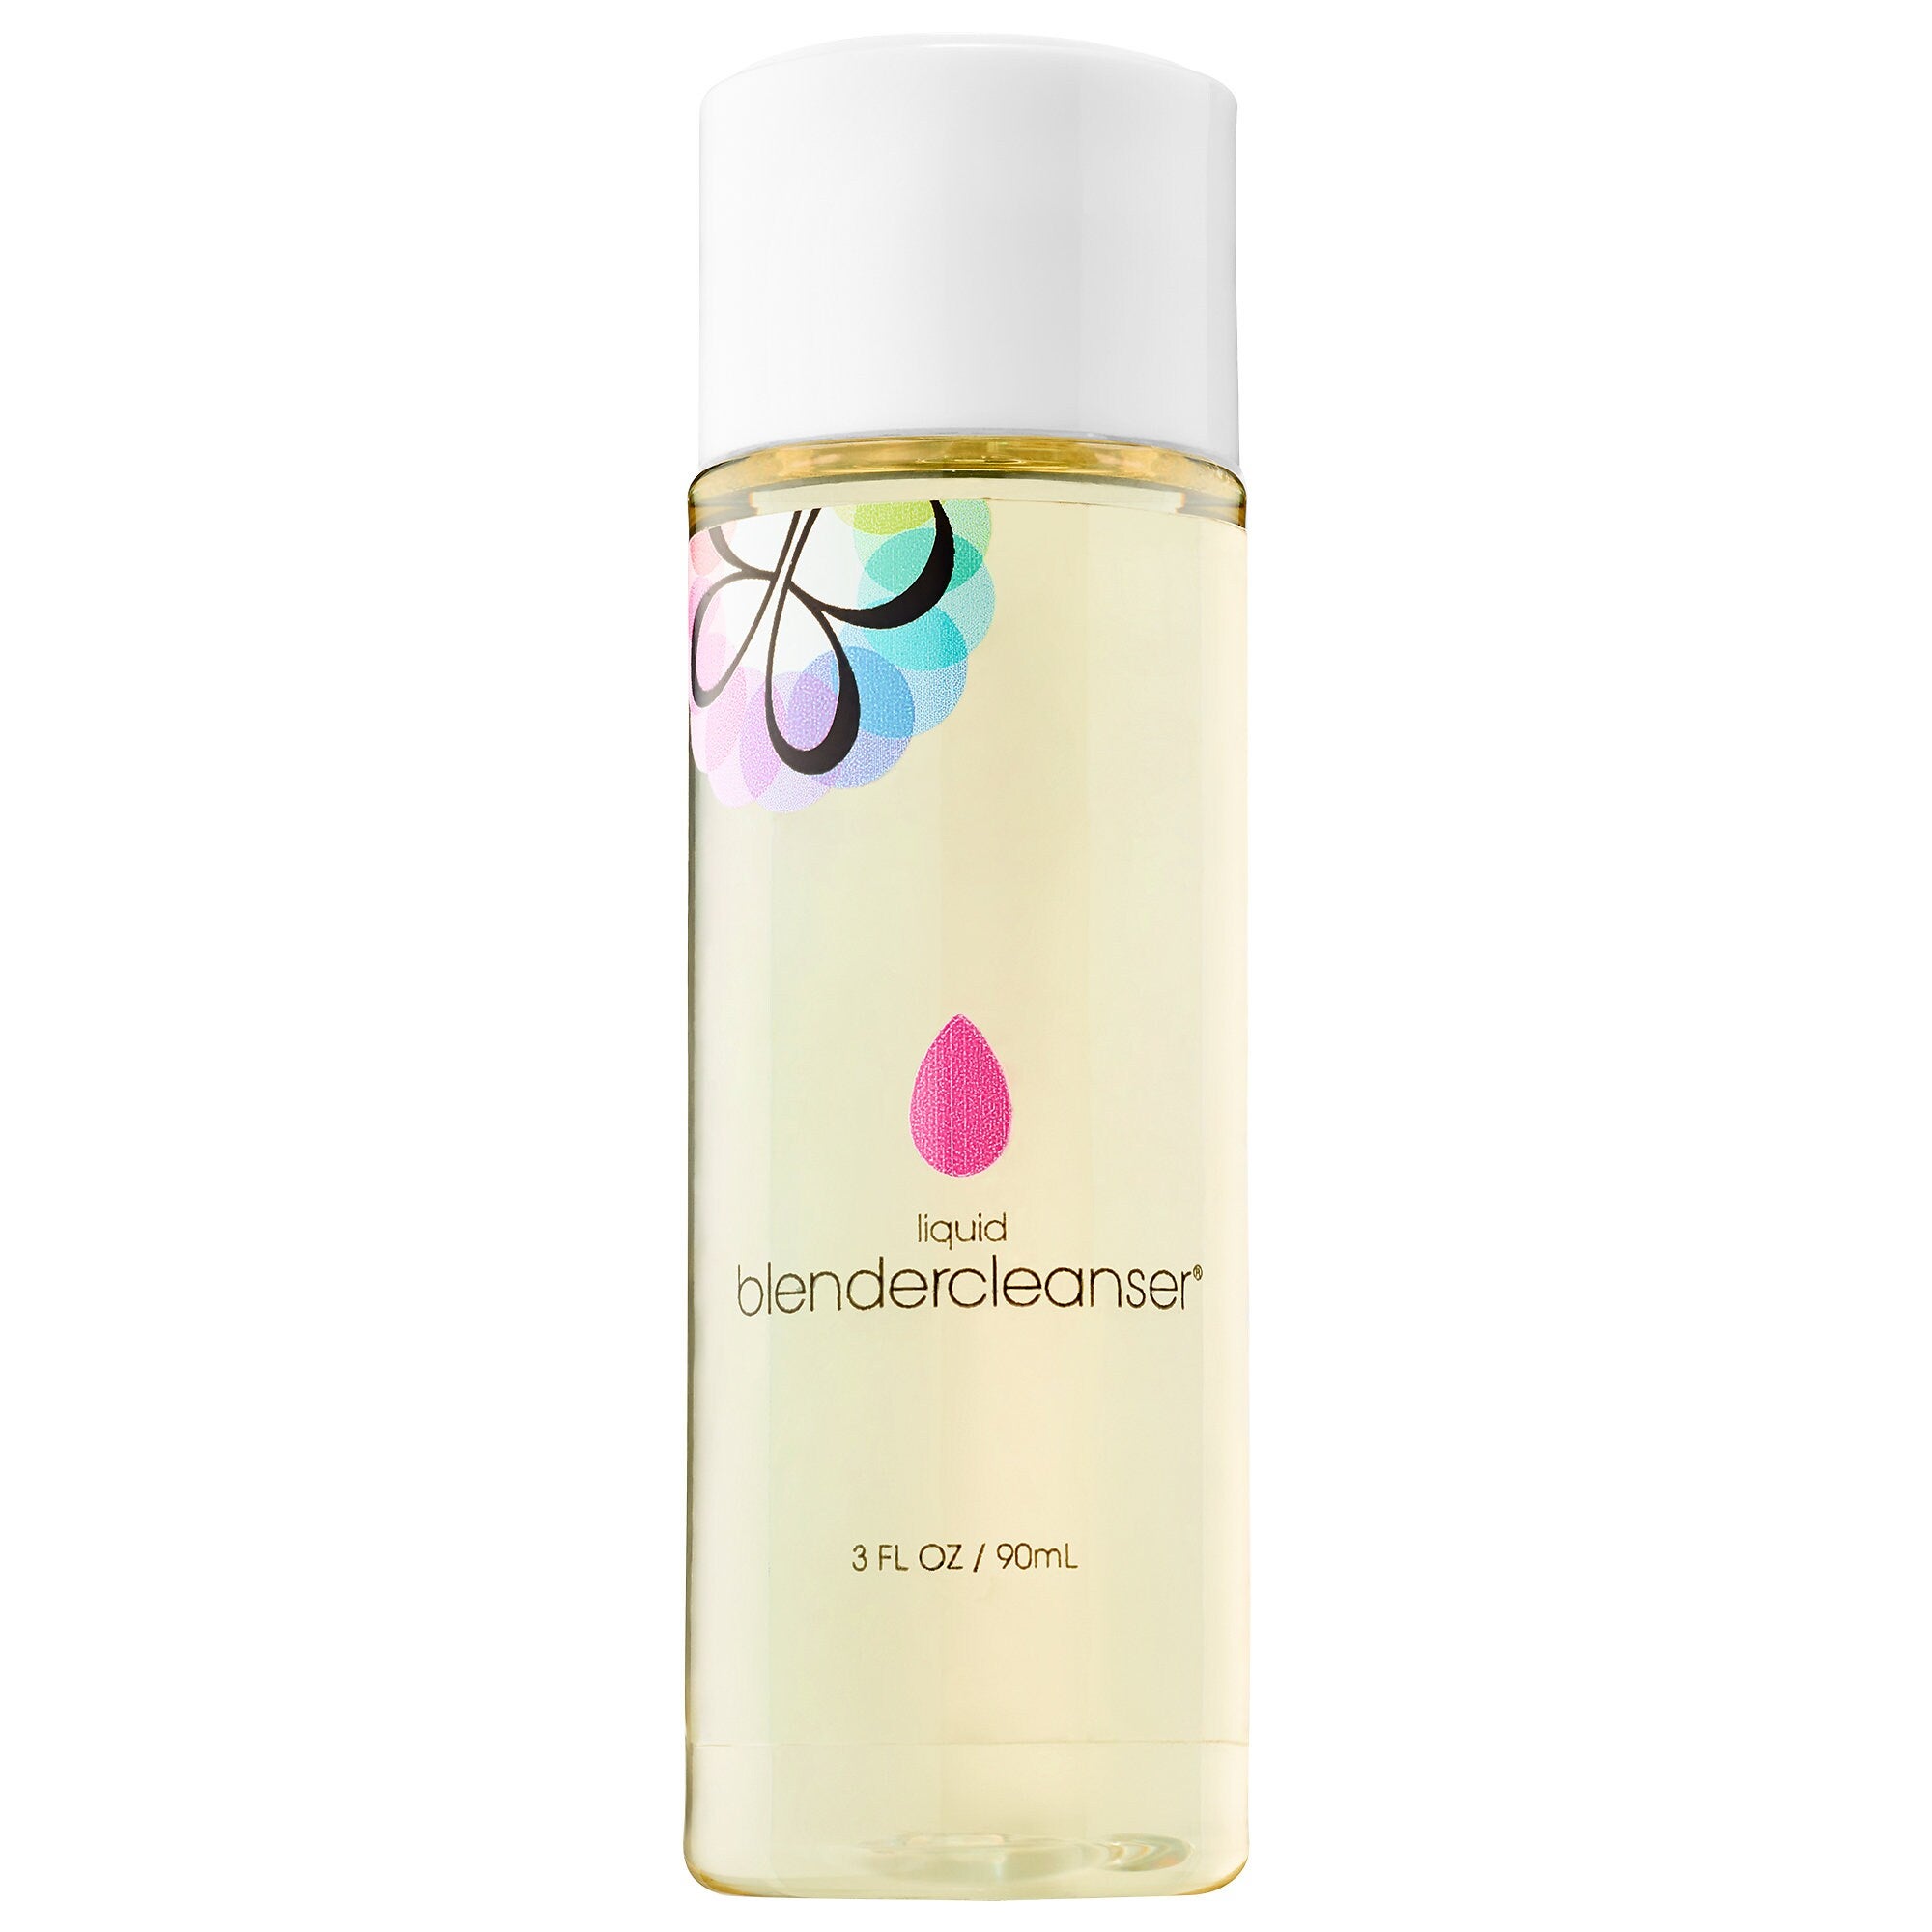
Tackle Tough Stains
If your makeup sponge is long overdue for a thorough wash, there will probably be a few stains that are more difficult to erase. One solution is to allow the sponge to soak, just like you would hard-to-scrub dishes in your sink. “For really tough stains, take our liquid blendercleanser and a bowl of water, add the blenders in, and let it sit for a few hours — if possible overnight — to disinfect the blender,” says Mark Chi, Global Trainer at Beautyblender.
Beautyblender liquid blendercleanser, $, available at Sephora
Keep It Clean
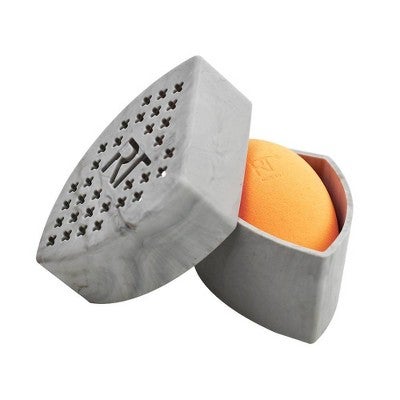
To prevent the spread of germs from your bathroom or vanity area, always keep your sponge stored in a clean place. Be sure to invest in a ventilated case, as a damp enclosed box is a playground for bacteria to grow.
Real Techniques Sponge Case, $, available at Target
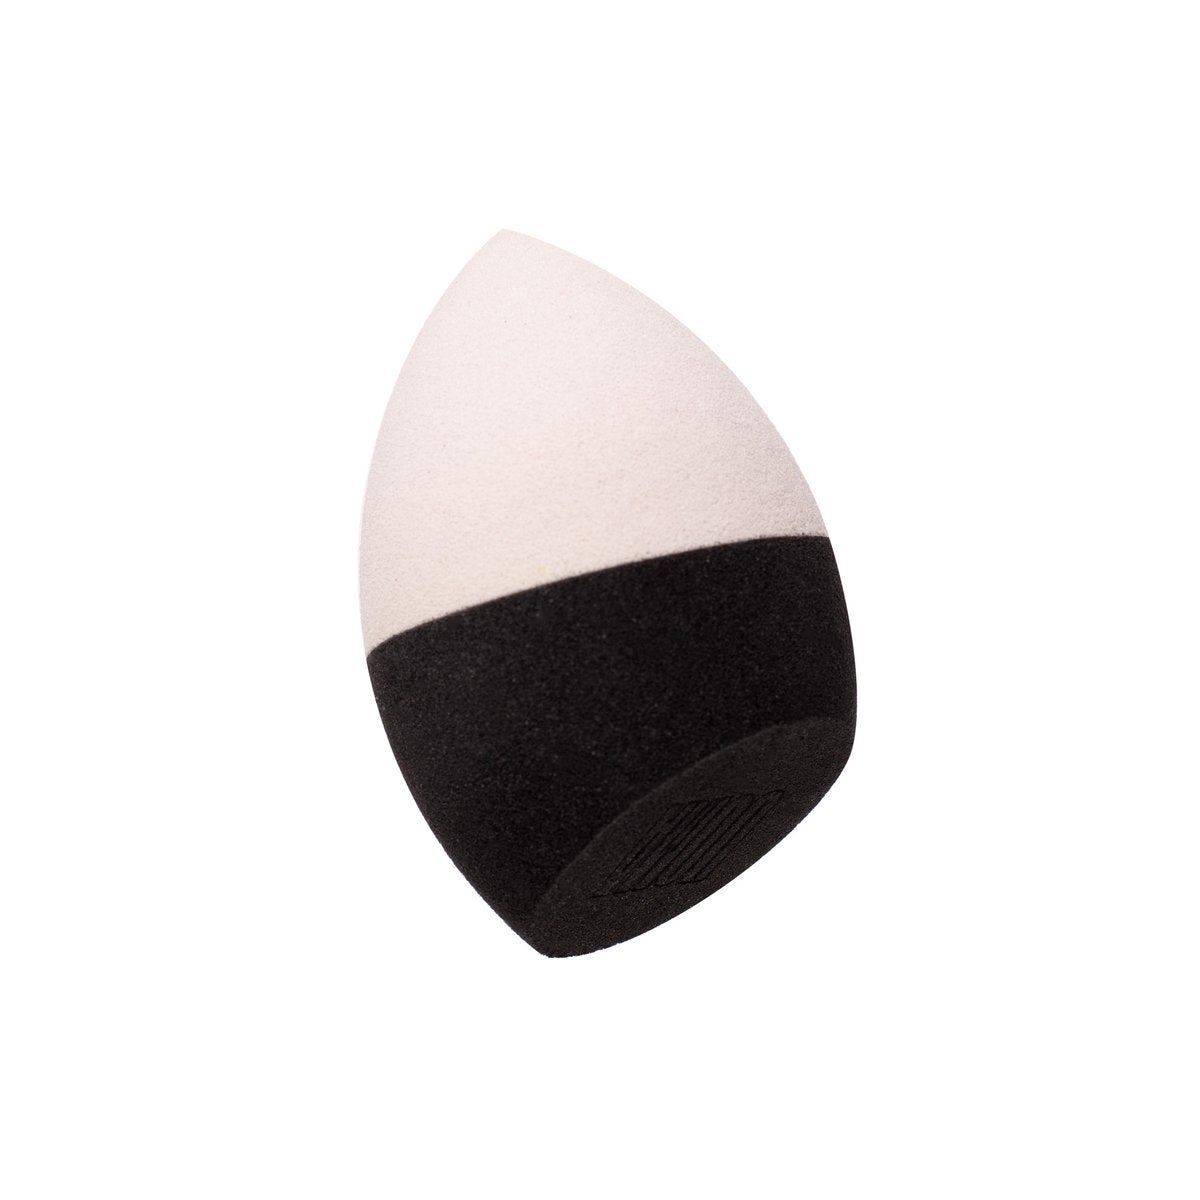
Invest In A New One
If you’re cleaning your sponge and it still looks suspect, it might be time to toss it and start over. “If it’s been 6 months, it’s time,” advises Chi.
UOMA Beauty Big Head! Dual-Density Sponge, $, available at UOMA Beauty
Like what you see? How about some more R29 goodness, right here?
The Pro’s Guide To Cleaning Your Makeup Brushes
This Cleanser Does The Work Of A Mask
This Beautyblender Story Will Make You Cringe


